
Blog
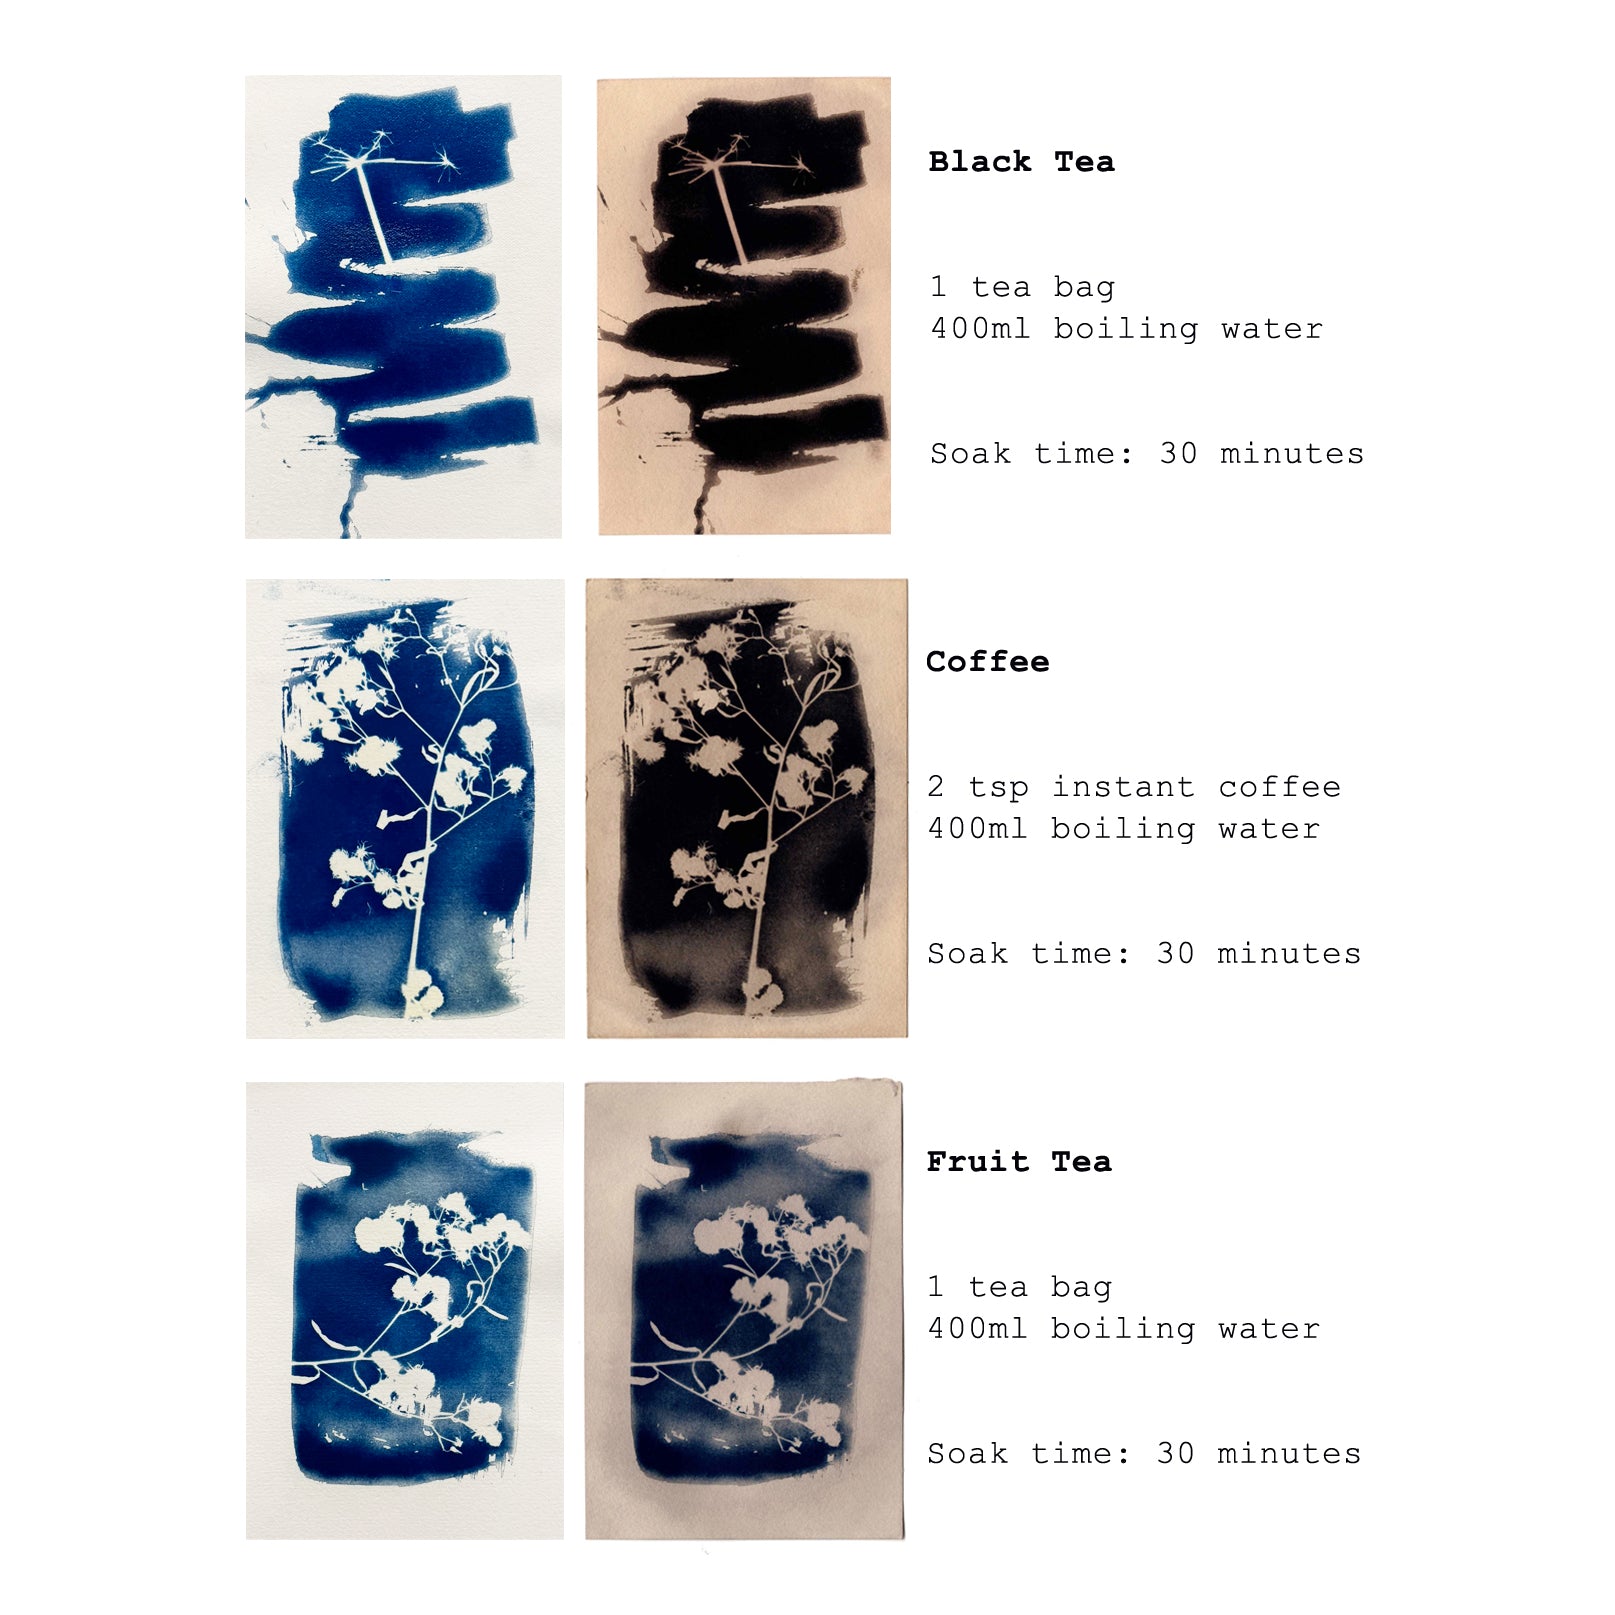 Did you know that Cyanotype prints don't always have to be blue? They can be toned and even bleached to alter their colour. The key is to use anything with a high tannin content. Tannins are commonly found in the bark of trees, leaves, buds, stems, fruits, seeds, roots, an. . .
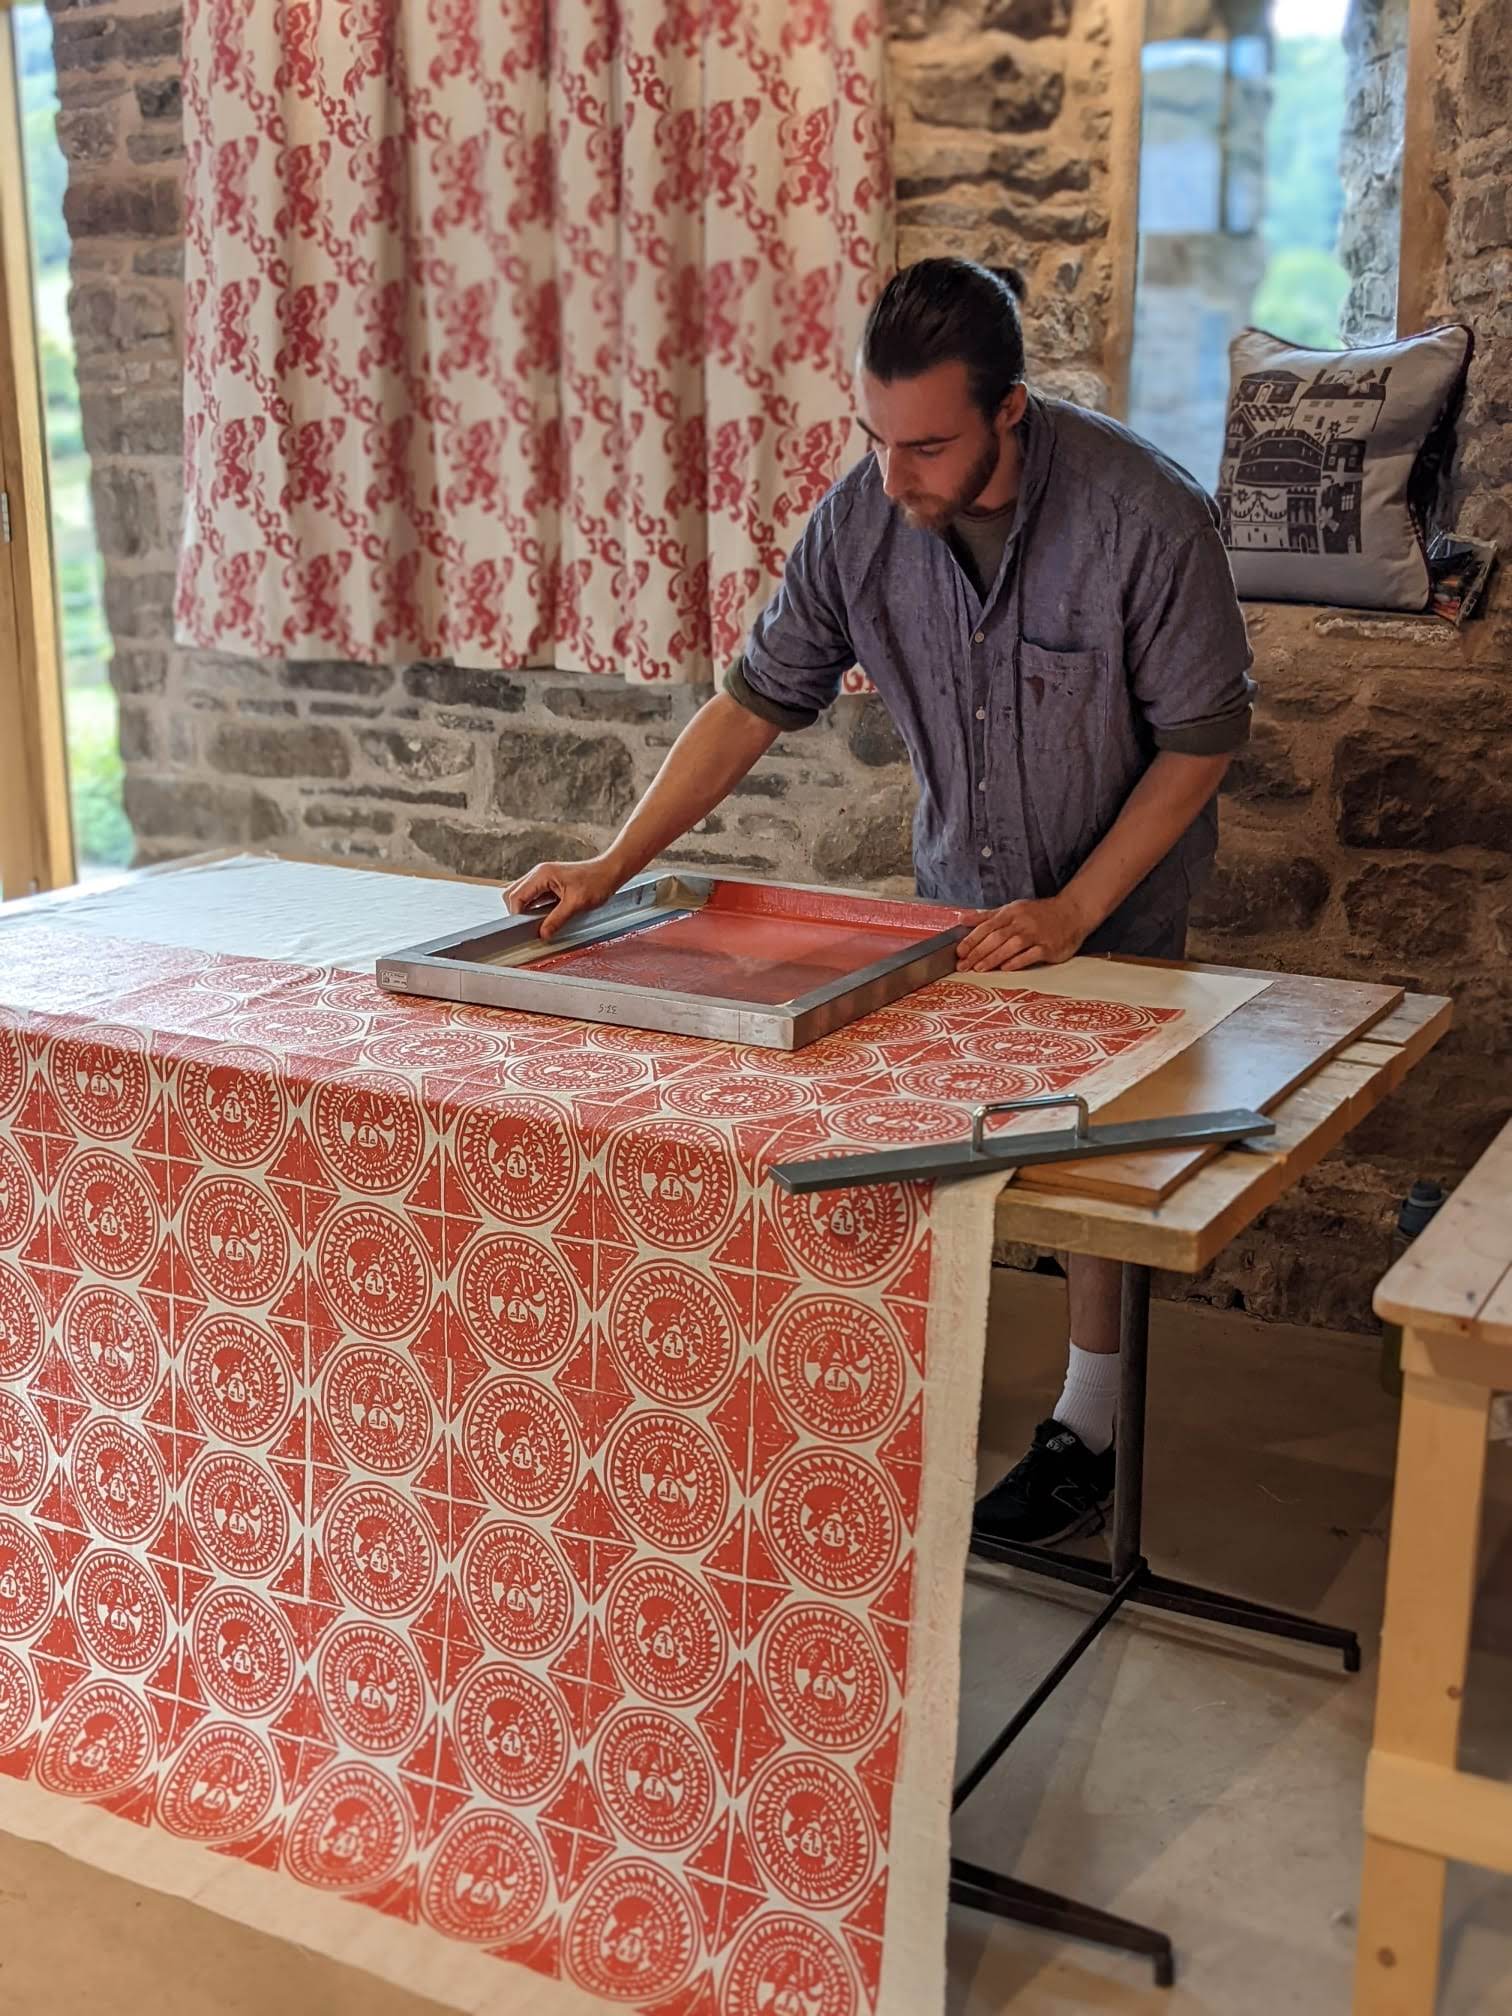
My name is Angela Hall, I’m an artist and silkscreen printer based in North Yorkshire, and I have been making and selling my limited-edition prints for the last 5 years from my studio, specialised print events and regional galleries.
My creative journey started with a degree in Graphic Design from Bath Academy of Art in the 1980’s, then progressed into working within the design and print industry, before a career change working within com. . .
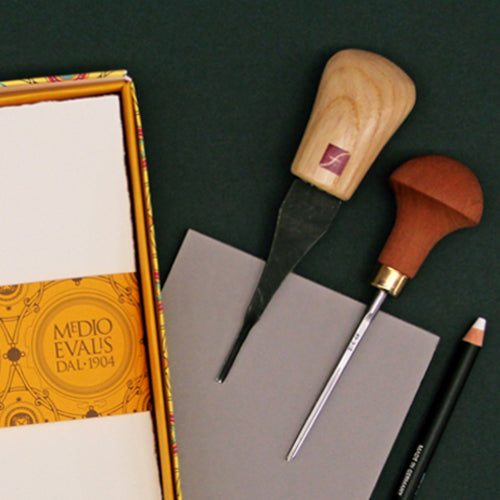
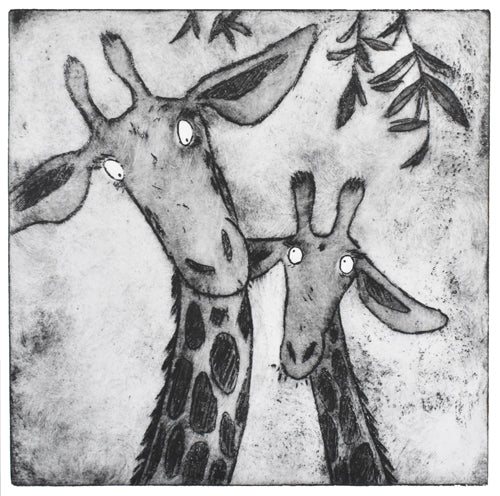
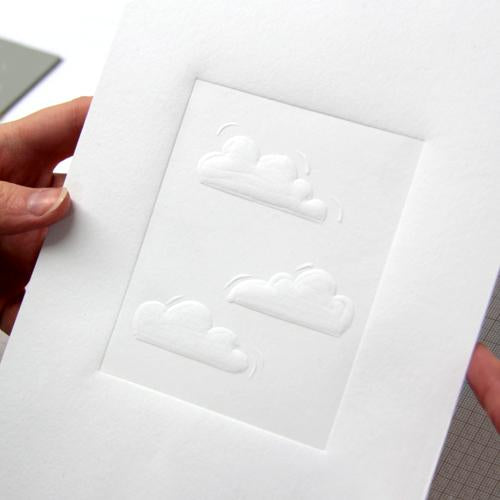 Blind embossing is a beautiful way in which to add light and shadow to your prints. Embossing adds subtle texture and interest. Emboss prints ‘blind’ (without ink) or combine with inked lino for a complex final print. Prepare the design. These white pencils are brilliant for drawing designs onto traditional lino. The marks show up … Continue reading "Blind Embossing with Lino"
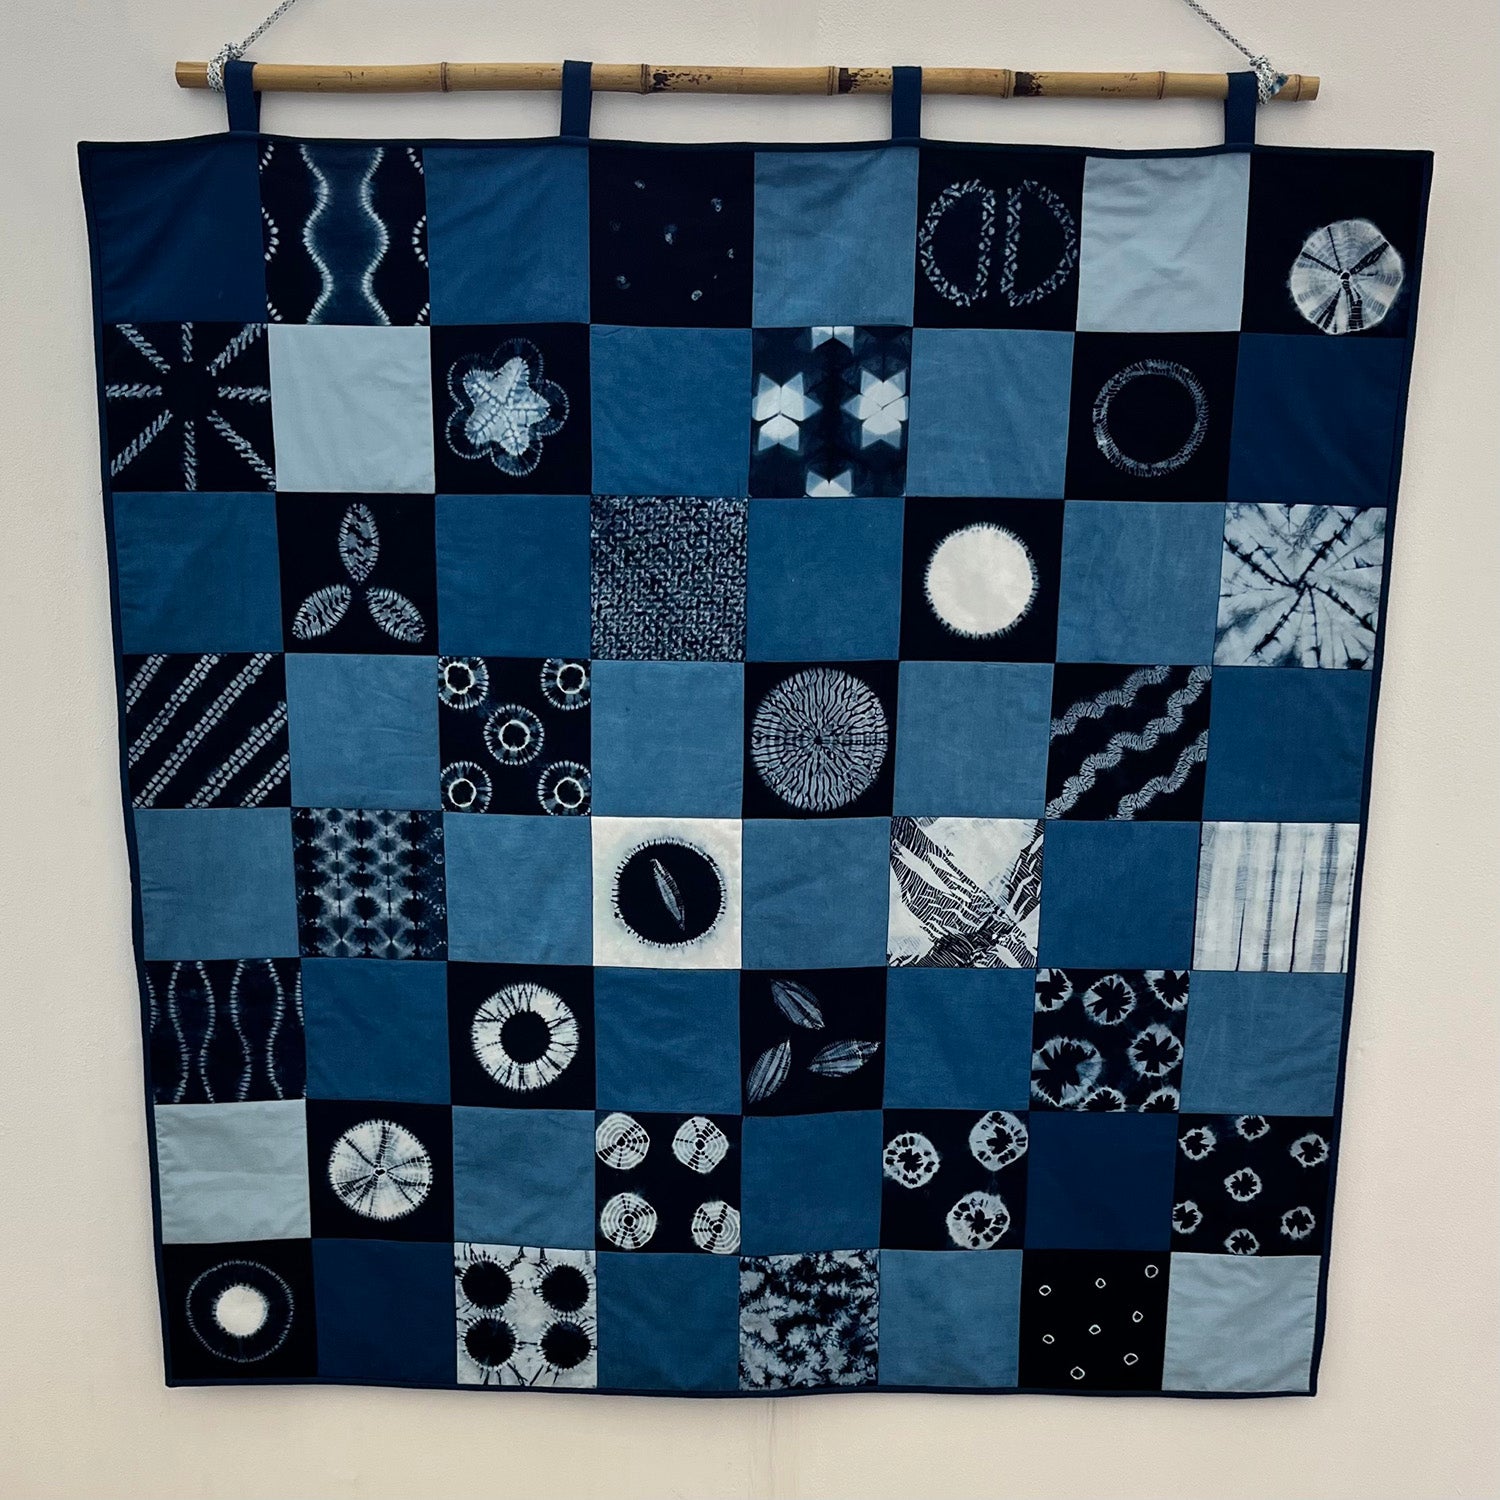
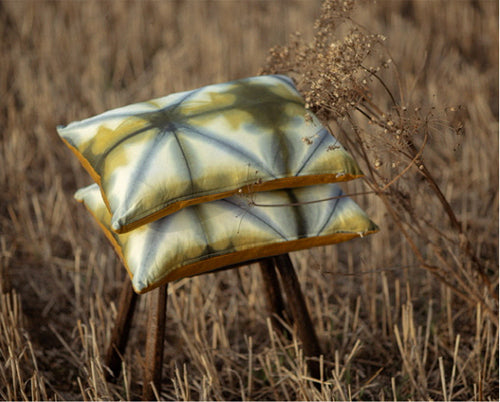
I am a textiles artist working with Japanese techniques such as Shibori, shaped resist and Katagami stencilling (using indigo to dye the fabric). I also work with formal Japanese embroidery techniques - Sashiko and Kogin (counted thread) embroidery as well...
 Pearl Ex Powdered Pigments are metallic pigments that can be mixed into printing inks, acrylics, oils, encaustics and loads more. As printmakers we were keen to see how they could be used in various printmaking ap. . .
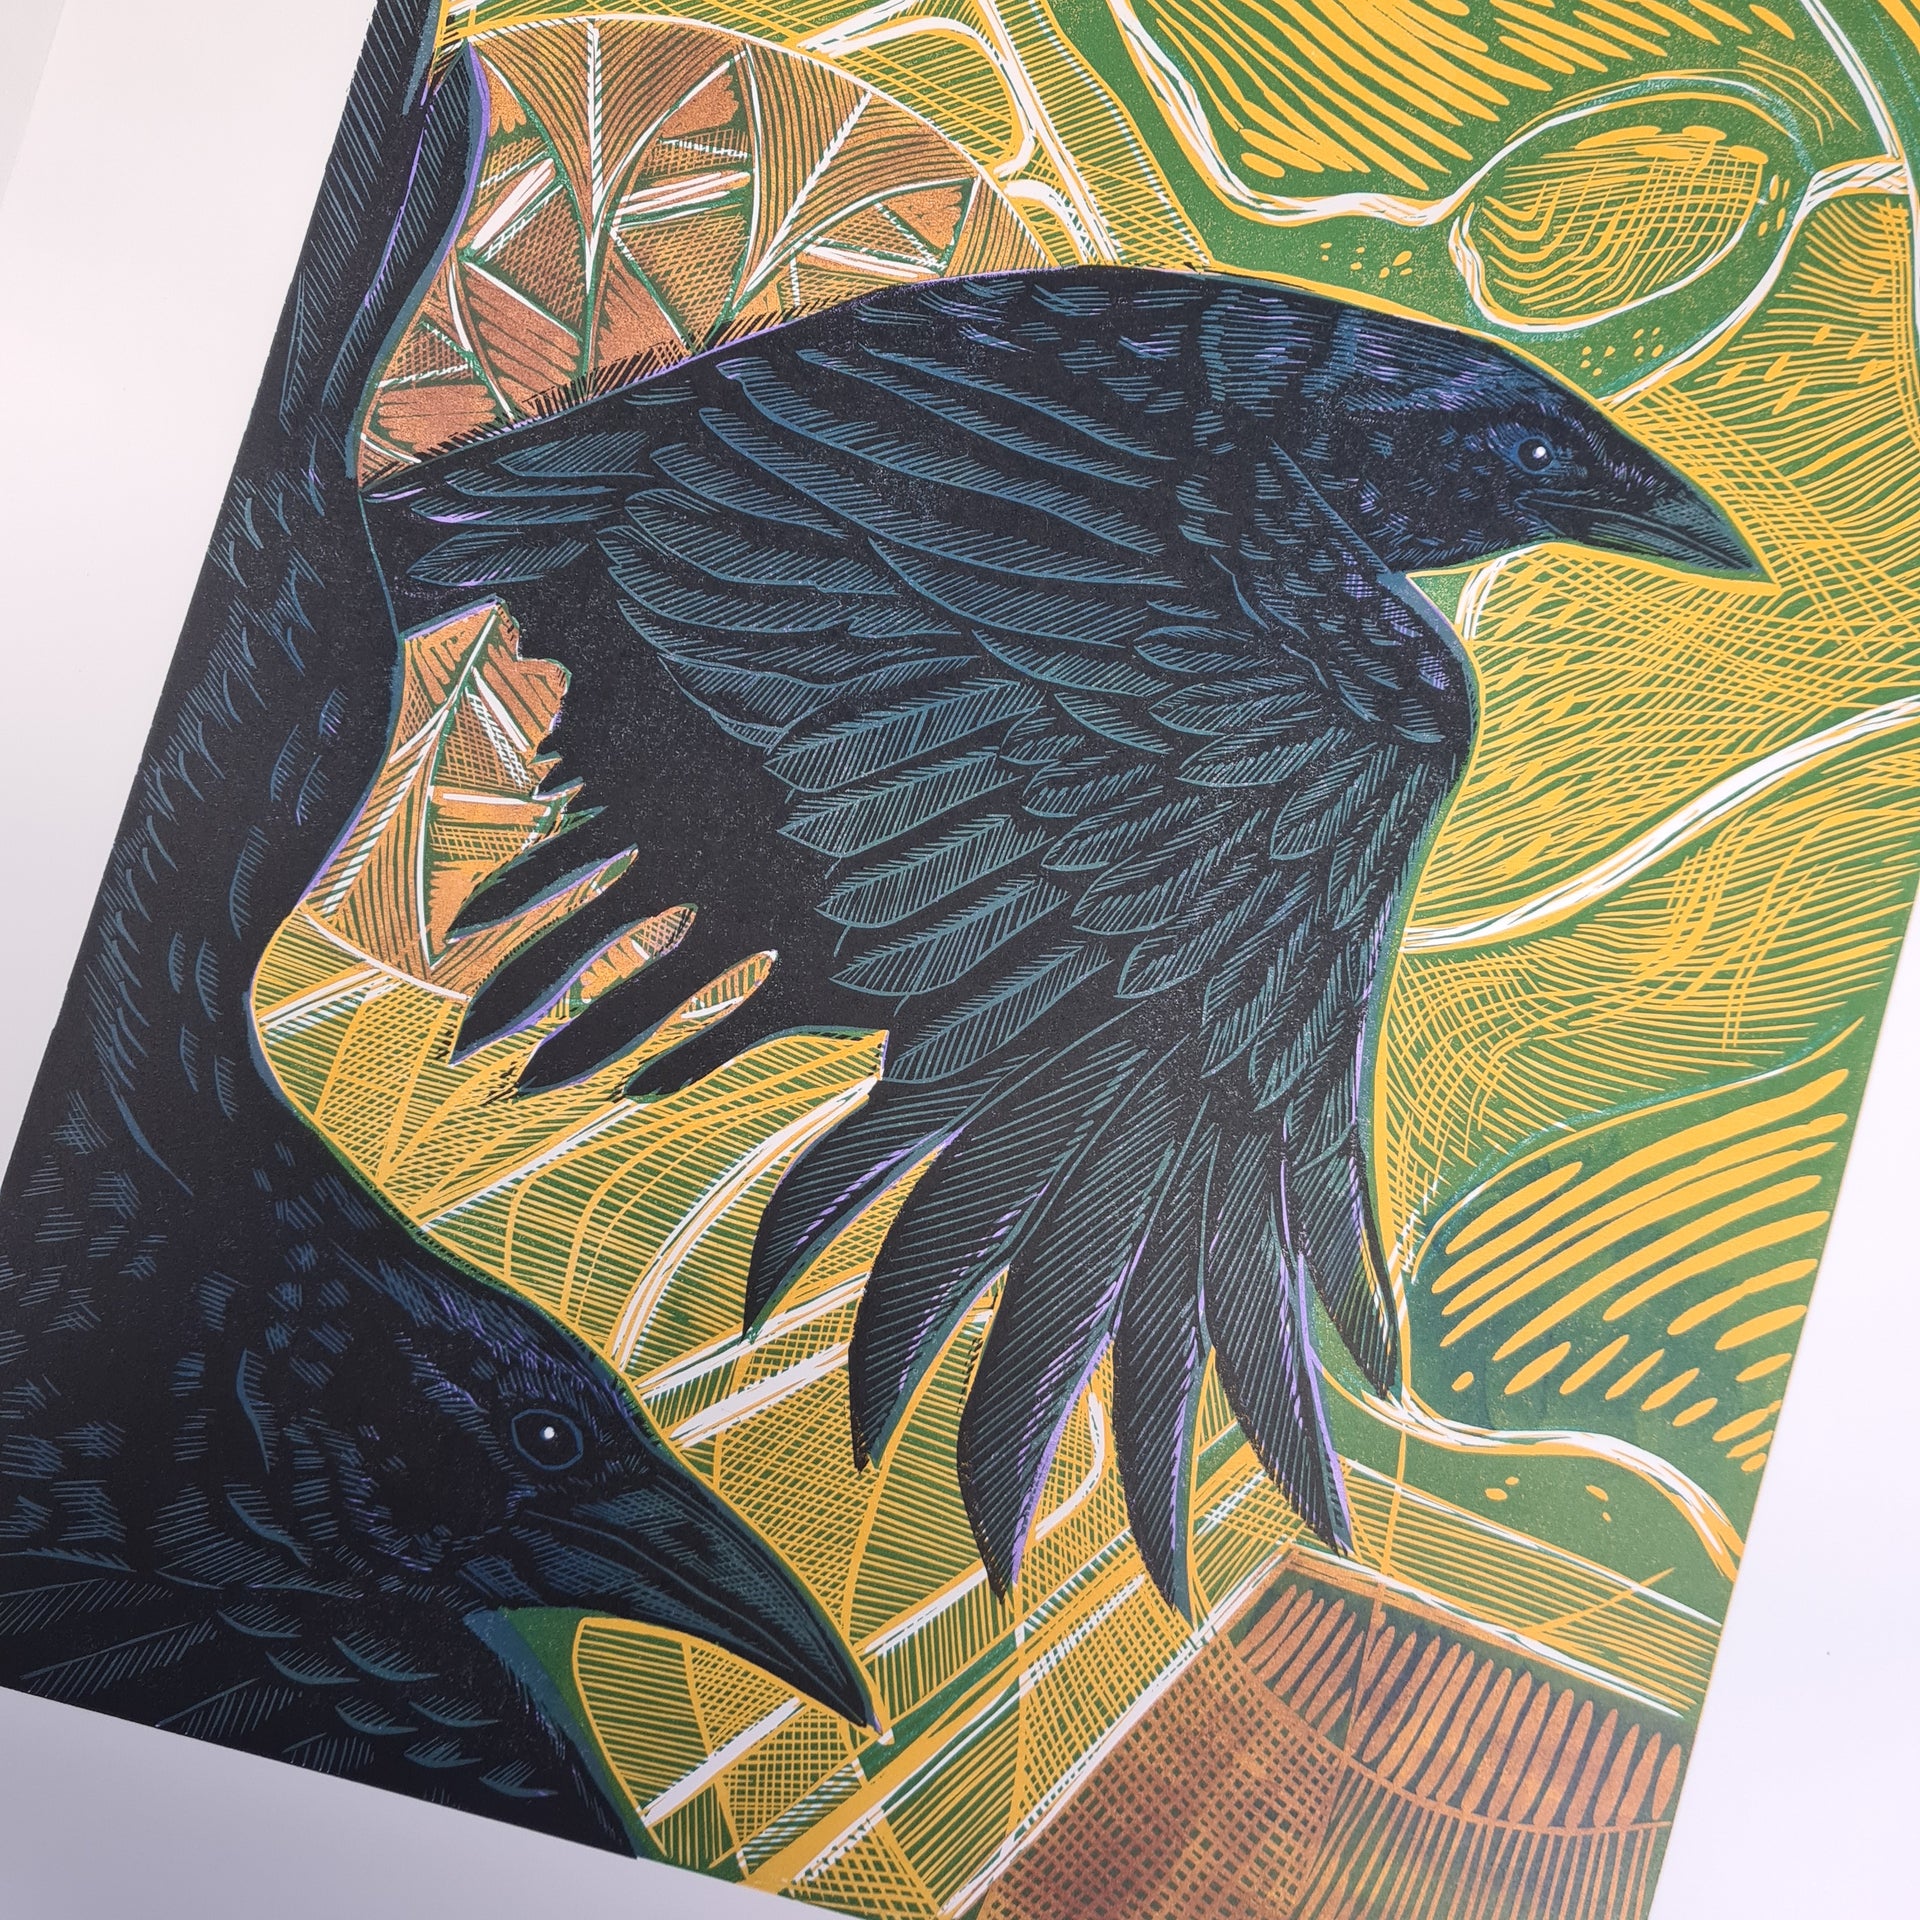
Hello! I'm Rebecca Perdue. I am a printmaker and artist based in a small garden studio in Wiltshire. I work primarily in linocut and monoprint, but also paint and make occasional silver jewellery pieces and textiles. I'm very interested in linking...
I’m an artist and maker from southern Scotland, designing and hand printing bespoke textiles for interiors. My work focuses on the relationship between pattern & place; all of my designs are inspired by a particular location and aim to interpret...
As printmakers, we know that having good tools can be a game changer when it comes to your printmaking practice. There are lots of lino and wood cutting tools to choose from so read on for a breakdown of the...
 I am a textile artist and tutor, specialising in dye and print processes to create organic, layered and textural art textile pieces for exhibition, in addition to cap...
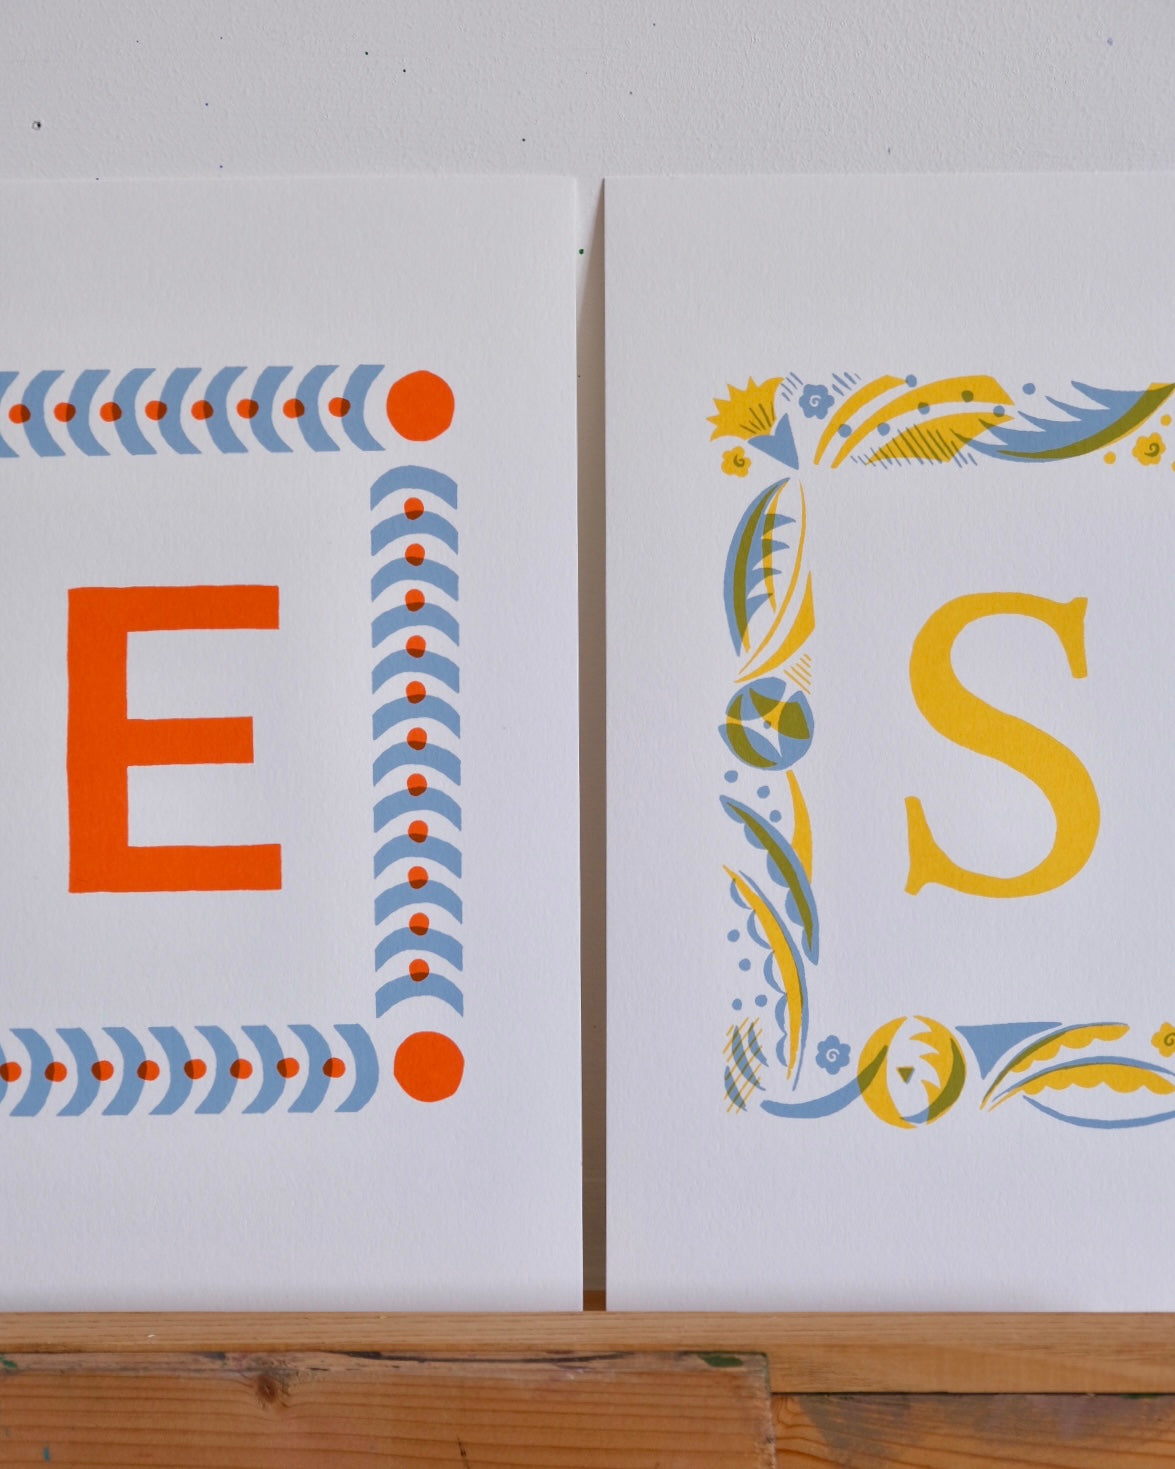
Hi, I’m Ariana - a pattern designer and printmaker from leafy Sheffield. I create joyful patterns and illustrations, which are particularly inspired by 20th century design, and I produce my own range of stationery and homewares. Describe your printmaking...
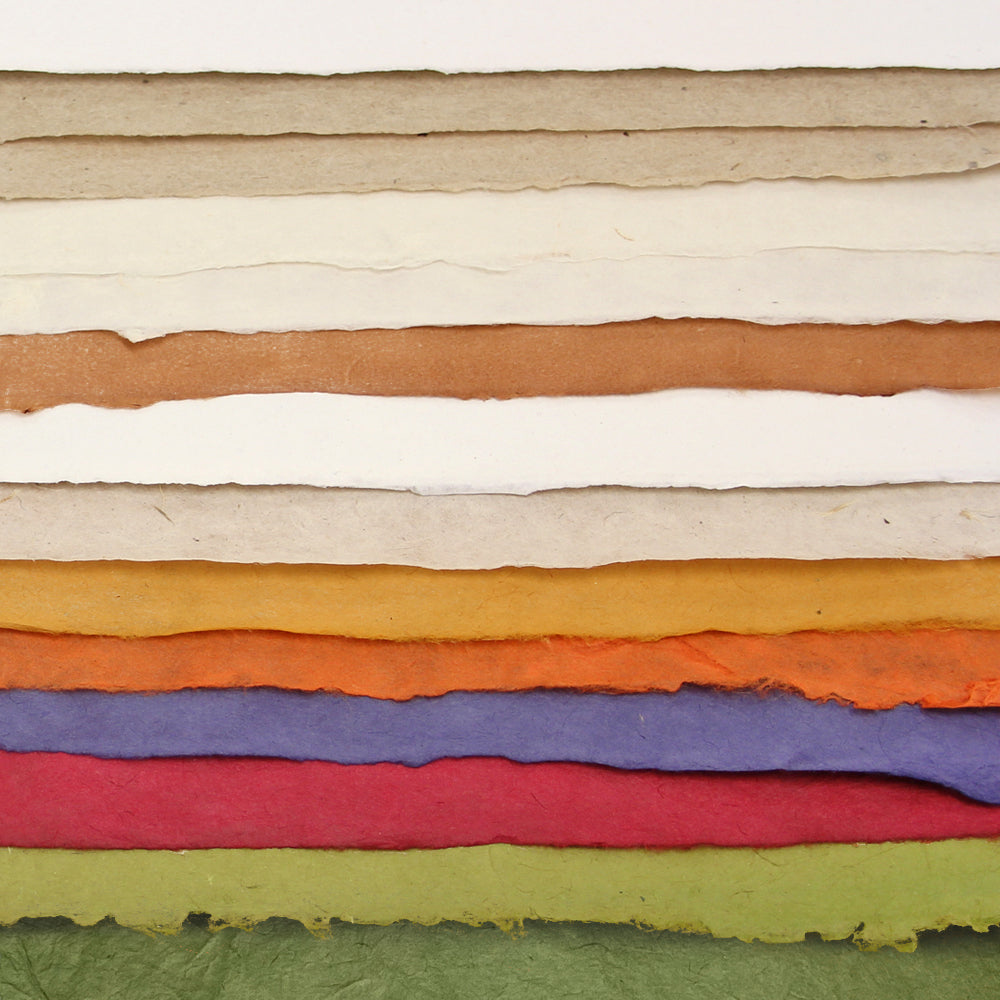
Choosing the paper for your printmaking project can have a significant impact on the way the print turns out. Changing the colour, thickness or tex. . .
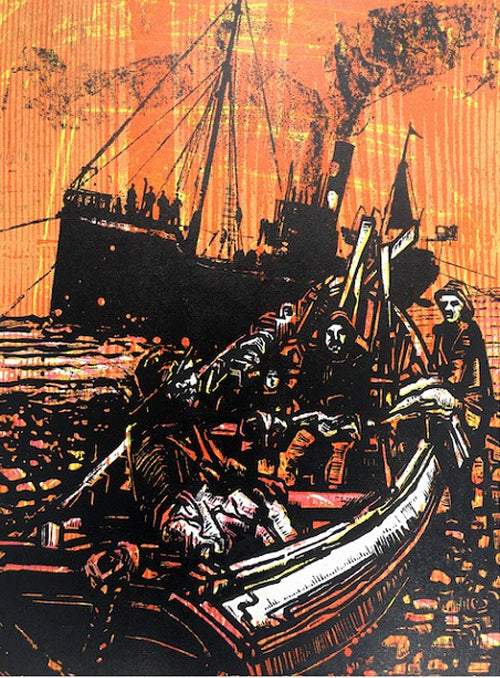 Ian Burke is a Painter Printmaker based in the North Yorkshire Moors. My printmaking process is relief printmaking, either in wood or linoleum, carved or etched. It is the most direct translation or transcription of my drawing technique which is both bold and graphic.
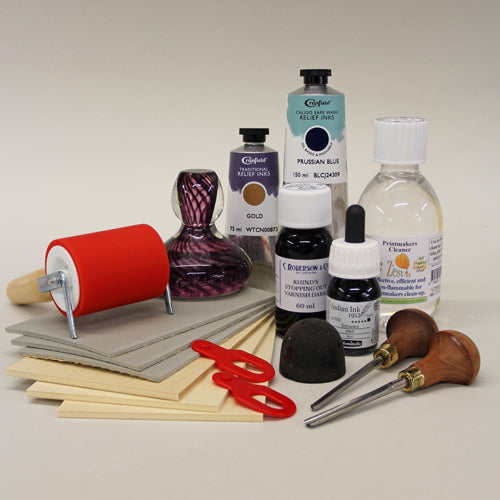 Scroll through the list below to find definitions and explanations of common printmaking terms: Acid-free – refers to papers that are made with an alkaline pulp, usually with calcium carbonate added. Acids contribute to the deterioration of paper and therefore of prints. Aisuki – a rounded, bevelled chisel tool used in Japanese Woodblock Printing, often …
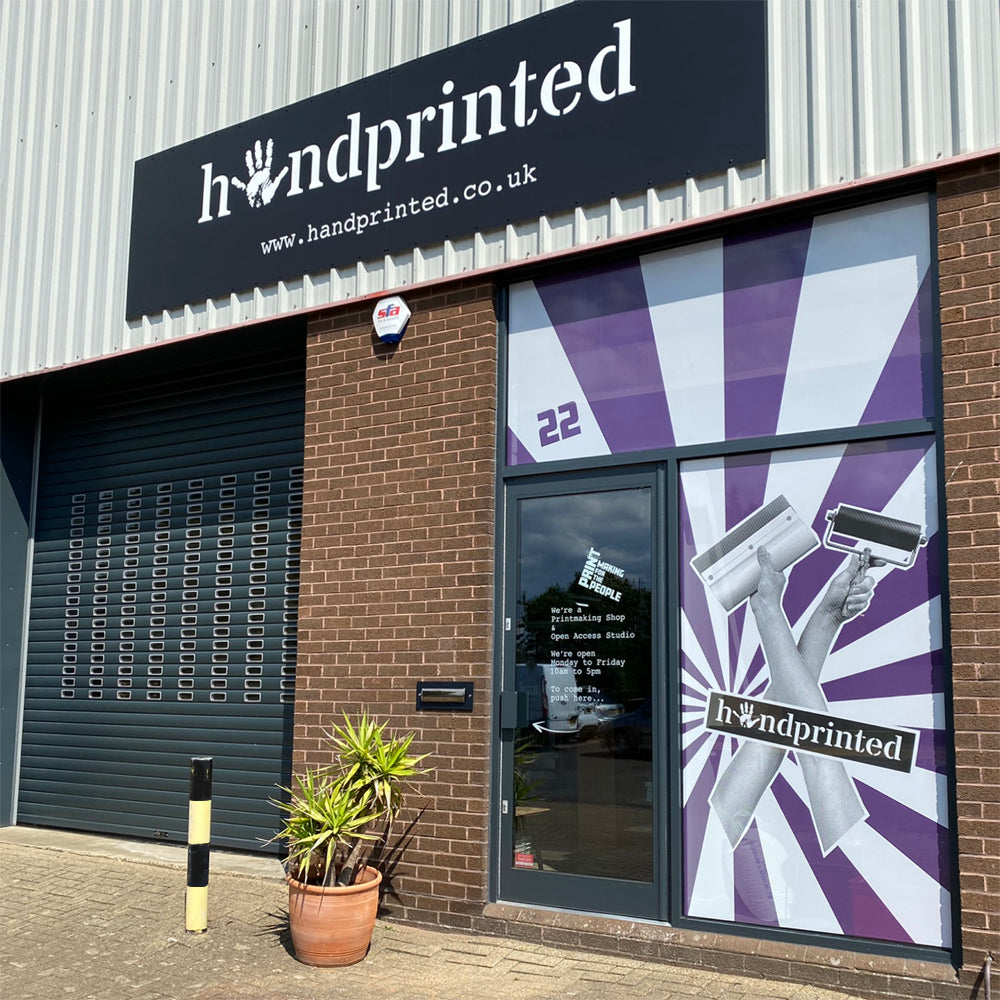
We've been looking back on all our studio highlights for 2023, and what a year it's been! If you took part in one of our Fab Fridays, attended a workshop, or used the studio for open access - thanks for being...
 What a fantastic array of makers we've had featured on our Meet the Maker blog this year. We've put together a round up for you with all of the wonderful advice our makers have given for creatives at any stage of their cre. . .
 Using tools on your plate isn’t the only way you can create marks within an etching. You can also use resists to stop the mordant from reaching the surface of your plate. Resists can help achieve more subtle marks and washes, and they...
How and where did you learn to print? A decade ago, when I first stepped into a print workshop, I met print technician and artist India Ritchie, who taught me various printmaking methods while studying at Arts University in Plymouth. India taught me intaglio, relief, and screen print processes, giving me a well-rounded insight into print. The workshop became a playg. . .
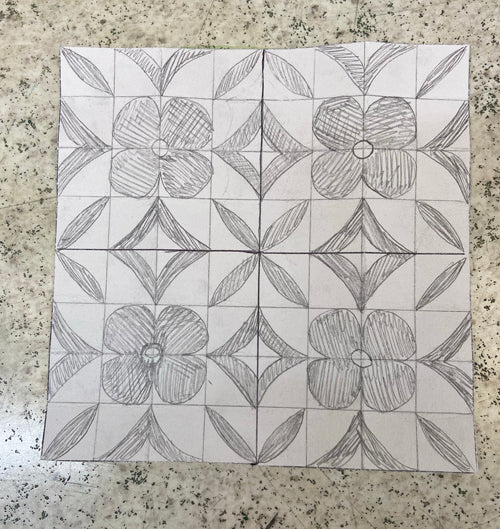 Visualising what your design will look like when printed can be the hardest thing about designing a repeat pattern. We have a good method for sketching out your initial design to see how it will work when it is printed. For this project, we. . .
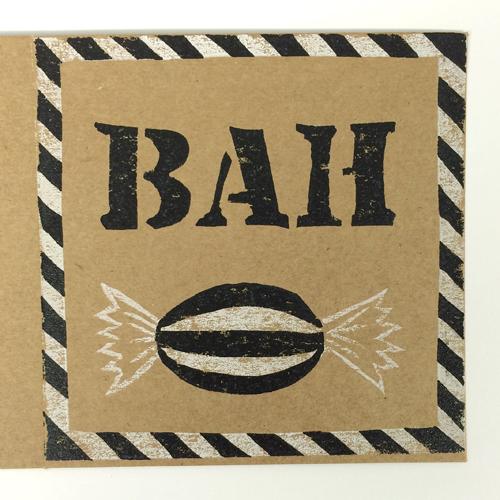 We’ve had a lot of fun this week working on easy, quick and fun ways to print your own Christmas cards! We’ve come up with six simple ways for you to try. Take a look at our instructions below and have a go yourself. Bah Humbug Lino Printed Card This two-layered lino card is quick, …
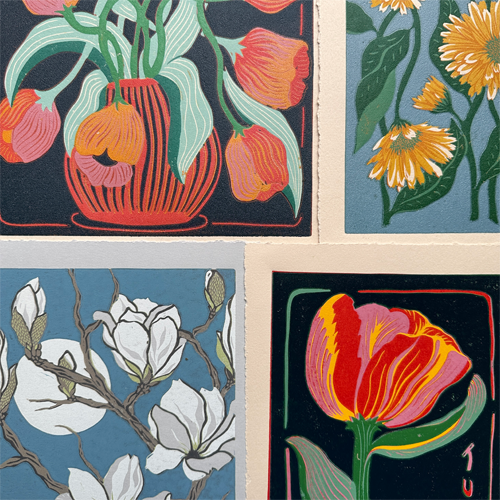 Hello! I’m Grace Gillespie, a printmaker specialising in reduction linocuts and based in Bristol. Most days you will find me in my teeny home studio, adding layers of colour to my prints, thinking about future designs or working o. . .


