
Screen Printing onto Fabric using an Embroidery Hoop

Screen printing is a wonderful technique where ink is forced through mesh that has been stretched onto a frame. The best way to do this is using a screen and squeegee but you can also have a go using materials you might have around the house! Scroll to the bottom to watch a video or read on.
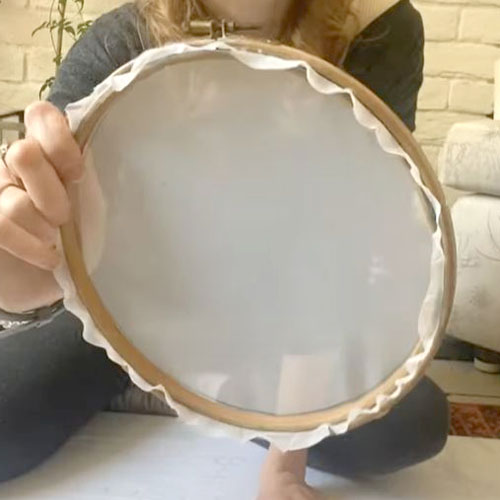
To make your own screen, use an embroidery hoop stretched with mesh. Ideally, use 43T screen printing mesh but you can try using a tightly woven net curtain instead. Pull the mesh as tightly in the hoop as you can. It's not going to be as tight as on a screen but this will work for simple projects.
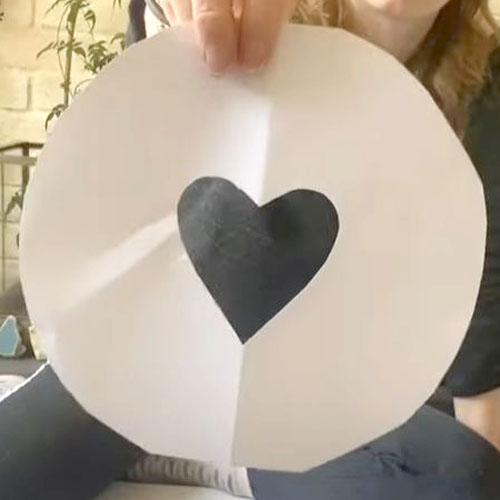
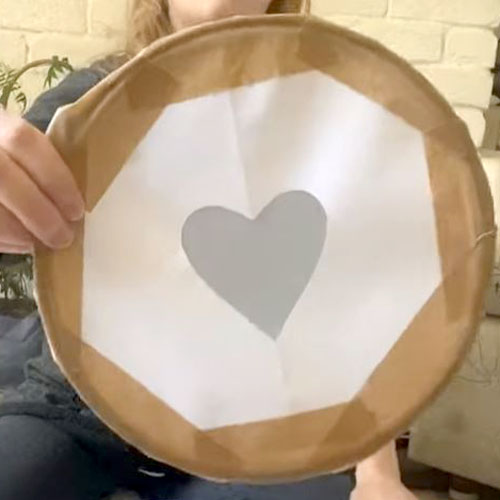
Cut a piece of paper (ordinary 80gsm printer paper is perfect) into the same shape and size as the embroidery hoop. Use a scalpel (or fold and use scissors) to cut a hole in the middle of the paper for your design. Don't go too close to the edge of the paper as it will be too tricky to print.
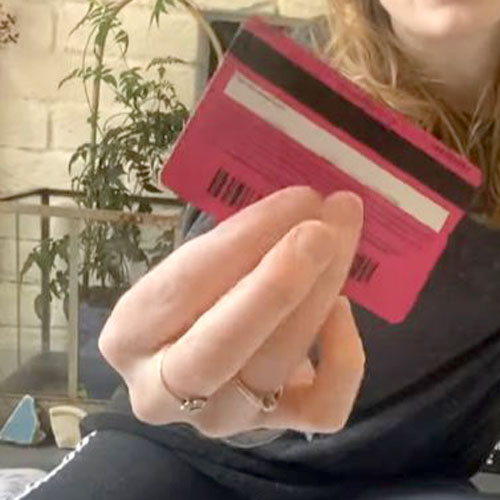
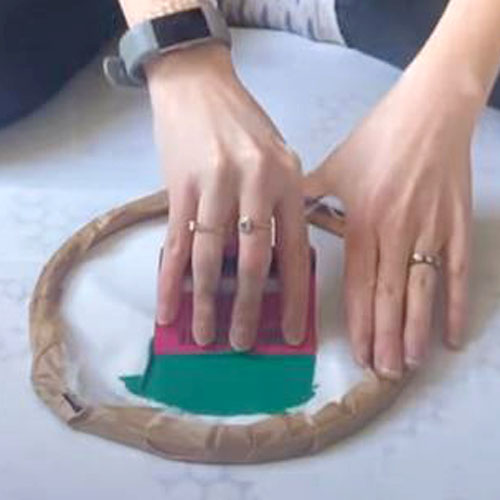
For a makeshift squeegee, an old store card can be used! It helps if your design is slightly narrower than your squeegee.
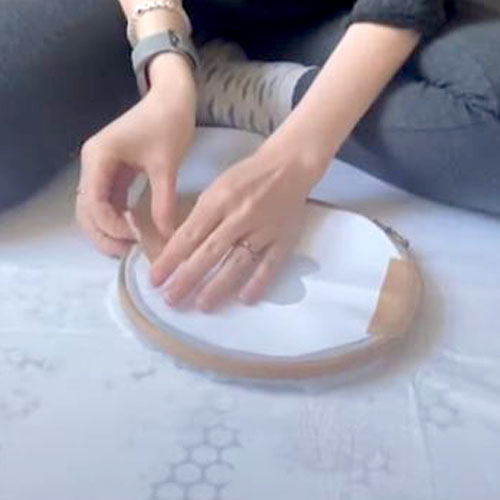
Turn your hoop over and use some tape to stick the stencil to the back of the mesh (the side that isn't indented on the hoop). Add tape all around the edge of the paper to make sure it's well stuck down (we skip this step if printing with ordinary screens!)
Pin your fabric for printing onto a padded surface (we like to use a blanket stretched onto a board).
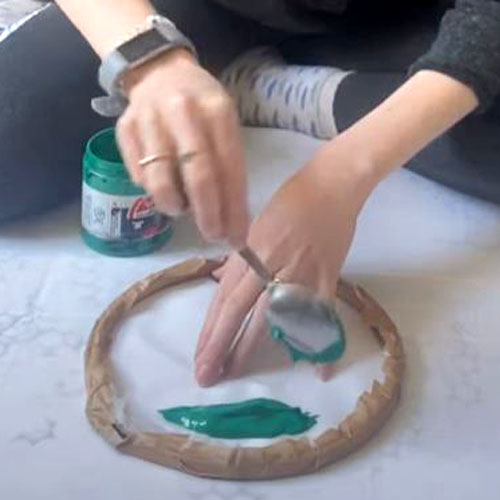
Lay the hoop flat onto the fabric where you would like the first print. Spoon some Fabric Screen Printing Ink above the design on the hoop - you could use fabric paint at a pinch (not on a proper screen!) but don't use acrylic paint. Make sure the line of ink (ink well) is slightly wider than the design.
Hold the squeegee above the ink well at a 45 degree angle to the fabric. Pull the squeegee firmly down across the design to force the ink through the mesh. Finish your squeegee stroke in the gap between the design and the hoop. Leave the ink well down there.
Lift the hoop to reveal your first print. Place it down in a new spot and repeat. Use the squeegee or a spoon to place the ink well back at the top of the design (or print from the other side if that's easier).
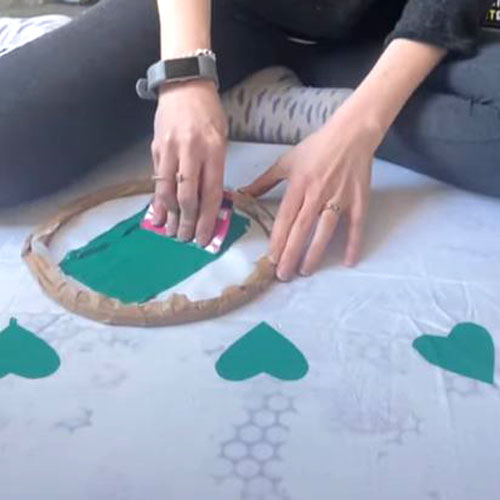
Continue to print for as long as you like, topping up the ink on the screen if necessary. Be careful not to place the hoop down on a wet print or you can smudge it.
When finished, use the squeegee to remove any excess ink from the hoop and place it back in the pot. Remove the tape and stencil. Take the mesh from the hoop and run it under a cold tap to clean it for use another day.
When your prints are completely dry (this will only take half an house or so but waiting until the next day is ideal), iron the prints with a dry iron for 30 seconds or so per print, or until the fabric feels too hot to touch. This will heat set the ink and allow the fabric to be washable without losing the design.
For this project you will need:
- Embroidery hoop
- 43T mesh or net curtain fabric
- Tape (parcel tape is ideal)
- Store card for a squeegee
- Paper for a stencil (ordinary copy paper is perfect)
- Scalpel and cutting mat or scissors
- Fabric Screen Printing Ink
- Fabric to print on
- Pins
- Padded surface (a blanket stretched round a board is perfect)
- Iron