
Making a Thermal Screen using the MiScreen
Thermal Screens or Thermofaxes are often made using traditional photocopy technology from the 1950s. However, here at Handprinted, we use a machine called a MiScreen to process our screens. The MiScreen is connected to a computer and the artwork is digitally transferred to the screen as it passes through the machine.
The MiScreen machine makes this process super easy and achieves great results every time. To see how we make our Thermal Screens read on:
For this project, we're making a medium screen.
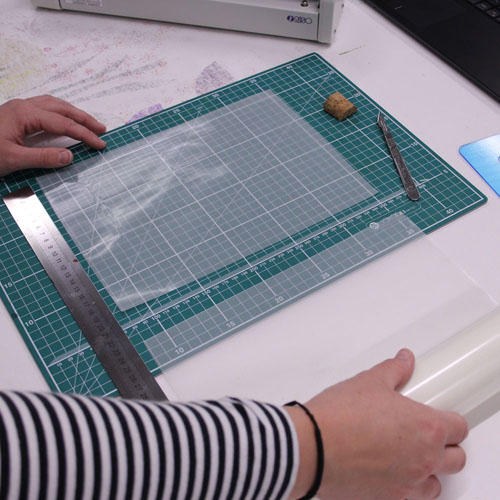
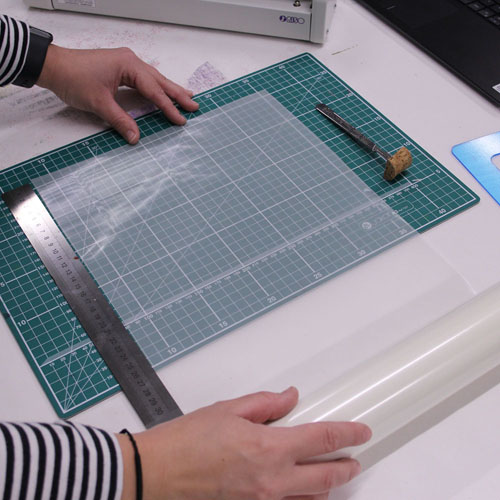
We start by measuring and cutting the mesh to 20cm making sure to use a sharp scalpel to prevent any snagging.
Once our mesh is cut to size, we want to remove the protective film from the screen frame. The frame has two holes on either side. On the medium frames, they are along the short edge and on the large frame, they are along the long edge. We want the larger of the two holes to be on our right.
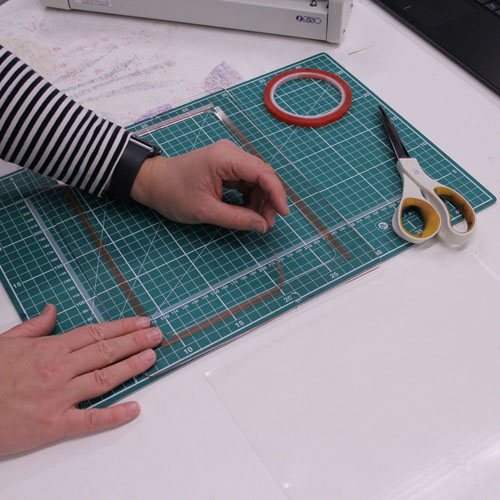
We then want to apply double-sided tape along the inside edge of the frame, removing the film.

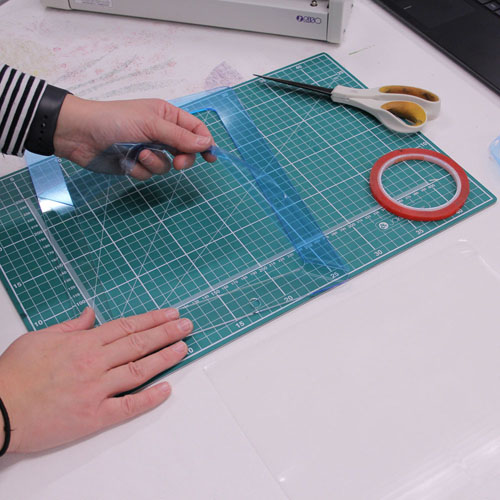
The Riso mesh that we use has a smooth side and a slightly textured side. The most important thing to remember when attaching the mesh to the frame is shiny to sticky.
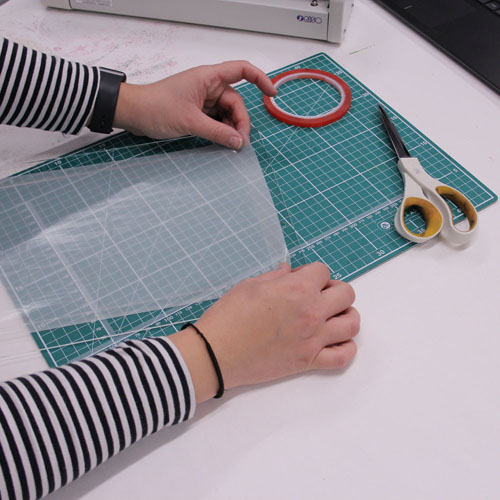
We find it easiest to attach the mesh to the shorter edges first. It can take a couple of attempts to get this right. We want to make sure that the mesh is securely attached with no sagging or gathering. The mesh needs to be completely flat.
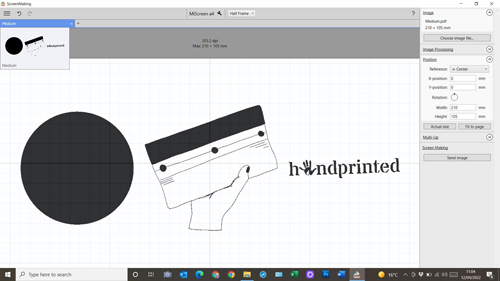
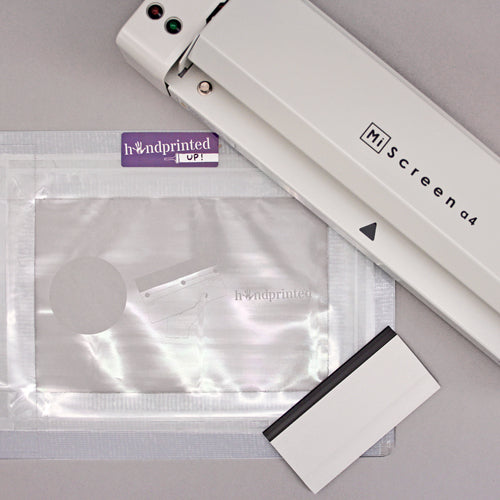
Once our mesh is attached to our frame we can move onto the computer. We want to attach the MiScreen to our PC and make sure that it is switched on. We have our artwork ready as a 210 x 105mm pdf file. It is full black with all grey tones removed. These screens can achieve both fine lines and solid areas and work great for text and logos.
The artwork can simply be dropped into the screen maker program. There are two page options available depending on the size of the screen being made, here we have selected the 'Half Frame' option as we are making a medium screen.
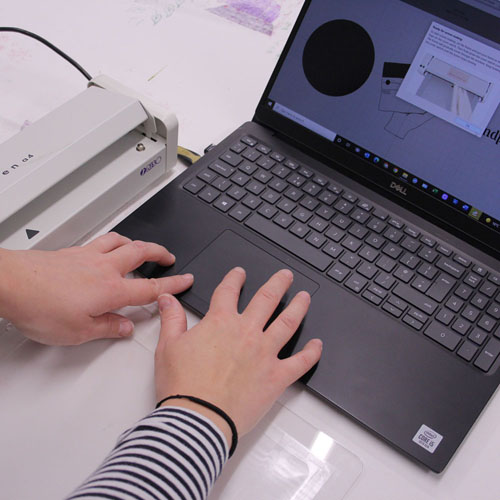
Now that our artwork is ready to go we want to press 'Send Image'.
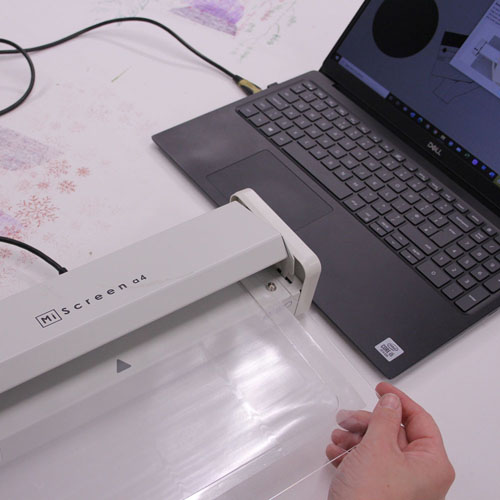
To make sure that the screen passes through the machine securely we want to attach it to the tabs on either side of the machine. Our larger hole will now be on our left and the smaller on the right.
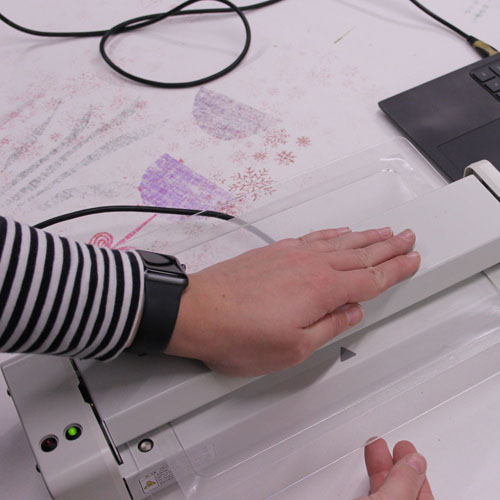
Once our screen is attached to the machine we simply press down on the top and the frame will automatically pass through it. It's important to keep steady pressure on the machine otherwise it will stop printing and you will have to apply a new sheet of mesh.

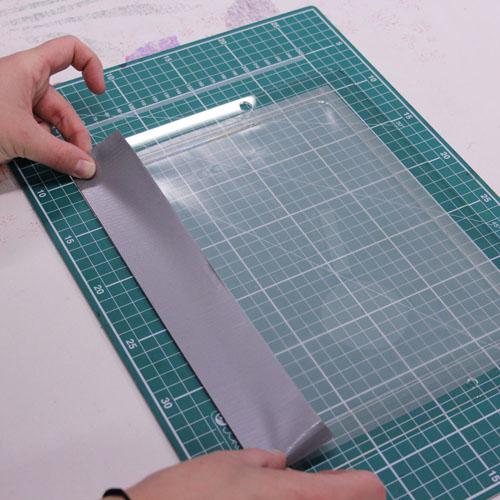
Once our design has successfully been transferred we want to secure the mesh using Duct tape (again using the shiny to sticky rule). This will be the back of the screen.
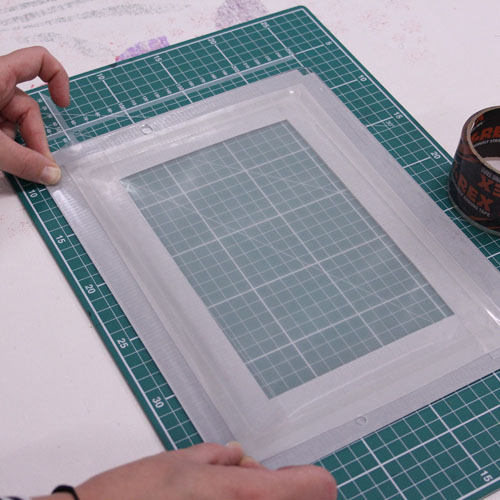
We then want to apply durable clear tape such as T-Rex tape to the front and our screen is ready to use!
You can make your own screens at home with your very own MiScreen machine or we can make them for you. You can email your artwork to shop@handprinted.co.uk!